
What happens when you combine a love for mixed media art supplies with finishing a new basement bathroom?
Let me explain.
I've had an unfinished bathroom for 20 years and it was time to finally get that bathroom finished! A neighbor contractor agreed to help but he was very busy and couldn't work on it consistently. Getting impatient we decided to go right ahead and put up the wallboard, and texture the walls ourselves. While the seams were being taped and plastered, I noticed that the wall plaster looked a lot like texture paste and I have lots of stencils from "Stencil Girl"...so I was thinking...what would happen if I stenciled some wallboard...just for fun...while I'm waiting for the wall seams to dry?
So I did a test on a spare piece of wallboard. It looked pretty good. I used regular wall plaster, the stencil, and a little palette knife. Lookin' pretty cool.


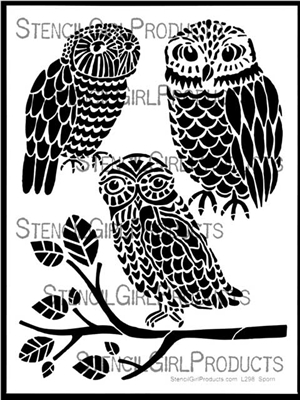
So I was wondering...what if I stenciled the entire wall so that it looked just like spackled texture from afar...but when you looked up close you could see the stencil designs. So I decided to make one entire wall a mass of stencil texture using my two favorite stencils from the Stencil Girl. I used the large Feeling Groovy stencil from the April 2015 Stencil Club, and all three of the owls from the Three Owls and a Branch stencil.

So I went for it and placed the stencil randomly all over the wall, applying plaster. I didn't even use tape, I just let the plaster hold up the stencil. Tape is for wimps. When the stencil became goopy after about 15 applications, I washed it off. So after the plaster dried, I went back and filled in the gaps with owls. After that all dried, I went back with random sections of the feeling groovy or the owl stencil. After it all dried, it was uneven as some of the stencils were applied over the top of other stencil applications. So I got the flat wall sander, which is made to knock down uneven wall texture and gently sanded it all down just a little so it would be even.

It worked! The whole wall took me three nights to texture, but I only worked on it for about 45 minutes each time.


So I'm just saying that my funky bathroom dream-wall is now a reality and I will be able to admire it from the comfort of my crazy new bathroom when it's finished! If you've got some time, this is a very inexpensive wall treatment. So if you try it my only stipulation is that there should be no planning, measuring, or taping allowed! It should be random and fun!
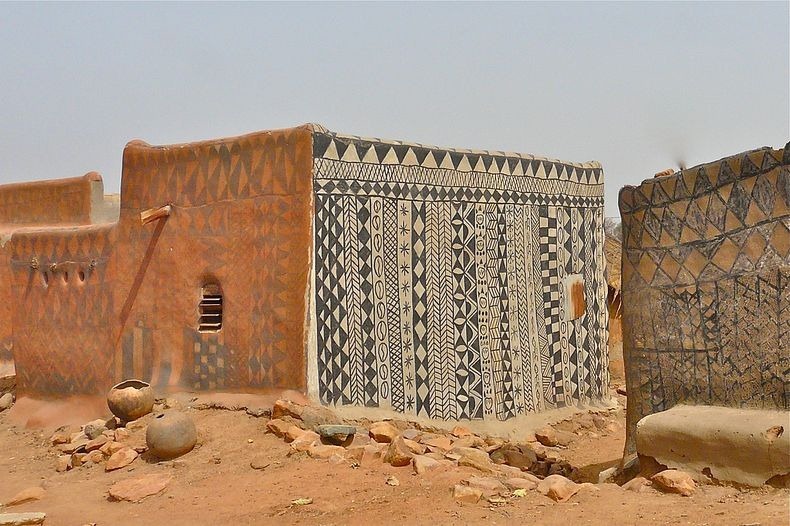
After this project, I'm just saying, don't let me near any sharpies because I've had my eye on a house project I saw online and I have this large ugly tan area on my house....I think the people of Burkina-Faso in West Africa invented the zen-tangle-house! Better hide those sharpies from me!
OH MY GOODNESS....LOLOLOL....I am SO impressed!!!! Your spontaneously stenciled bathroom wall is glorious!!! What a hoot! (Yes, pun intended). I think you should receive some royalty payments if your contractor decides to 'lift' your idea. After 2 coats of paint, that incredibly unique and fabulous wall looks amazing. I'm headed to the mudroom and throw away ALL my tape right now...hahaha...I aint' no wimp! LOVE what you did here. Super great fun!
ReplyDelete