
I have given them away to some local shelter organizations that shelter women and children. I have also given some to a family when their house burned down that had children in school. There may be some local elementary schools in your area that could use these for children that attend the school who are in need. Also local children's hospitals are always looking for items to keep children busy, or for siblings of sick children who may be spending a lot of time in hospital lobby's or waiting rooms while their parents attend to their sick sibling.
The lds website used to have a pattern that I like to use, but they no longer have one posted. I will post the old instructions I use at the end of this post. I have added some comments to the old instructions.

I like to make them with two layers of fabric so they are strong.

Here's the outside of one bag along with the school supply contents. I followed the Schoolkit guidelines from the LDS Church. Now they have local members make school kits to give to local charities in their own communities.
I added a pocket because when I was 5 years old, my mom made me a similar school bag with a pocket and I loved the pocket! Pockets are for kids to put their "treasures" in, like that rock you found on the way home, or an acorn or some candy a boy threw at your head.

Here's the inside of the bag if you turn it inside out. After I cut out 4 fabric rectangles, I surge a front and back piece together (wrong sides together) to make one piece of fabric for one side of the bag. So I end up with two doubled pieces of fabric which I sew into a bag, so it looks like it has lining.

This bag has a pocket too, but it's hard to see. I glued on a felt butterfly from the dollar store. I hope it stays on.

Here's the dragon school bag. I cut the dragon from some fabric and zig-zag stitched the dragon onto the pocket. Rarrrrrrr, my son would have said. Then he would have gotten the plastic sword and had a battle with our drywall.


Usually I make the bags out of brigher colored fabric, but I had some denim so I used that with colorful lining.
The straps are serged on one side, then I fold the strap into thirds and sew it. Pretty easy. If you try to make one, you'll get the hang of it.
I like to take my time and make the bags strong. Picture kids skipping home from school swinging their bags all the way home. That's why I like to make them pretty strong.
You will have fun making these. They are not very hard and you can pick up school supplies on sale here and there.


School Kit Instructions
School kits are often sent to schools, and orphanages, or local groups in need. On occasion school kits will be sent to disaster areas.
Place the
following items in a durable cloth bag (see photo & instructions)
- 4 unsharpened pencils
- 1 rubber pencil eraser - approximately 1x2 inches
- 1 pair blunt nosed scissors with metal blades
- pencil sharpener
- 1 straight edge ruler - 12 inches, with metric
- Glued or spiral bound notebooks with lined sheets, 8 x 10 ½, or 8 ½ x 11 inches. Notebooks should total approximately 450 sheets. Do not include more than 6 notebooks
- 1 set assorted colored pencils, at least 12 per set, approximately 7 inches long
Making cloth
bags for school kits
Bag
- Cut one piece heavy, durable fabric 14x36 inches or two pieces 14x18 inches. (I use 2 layers of fabric for each side, with wrong sides together as the piece of fabric for one side, so it looks like the bag has lining.)
- If you want to add a pocket, cut out a pocket and sew it onto the bag now, before you sew the side seams. My pocket sizes vary, I just make them whatever size I want, depending on what fabric I have. Decorate the pocket before sewing it onto the bag.
- With right sides together, sew side seams and across the bottom, ½ inch seam
- Serge or zig-zag all seams
- Serge or zig-zag around the top opening of the bag
- Turn top hem down 1 ½ “ and sew
Handles
- Cut two handles 24x3 ½ inches (1 inch webbing may be substituted )
- Fold long sides in ½” then fold in half, lengthwise and sew down both long sides
- Attach and reinforce handles 2” from side seam along hem. Repeat on opposite side. Handles should be able to hang comfortably over a shoulder like a purse, length about 21” long.
- Sew a 3” strip of Velcro on inside of bag between handle straps

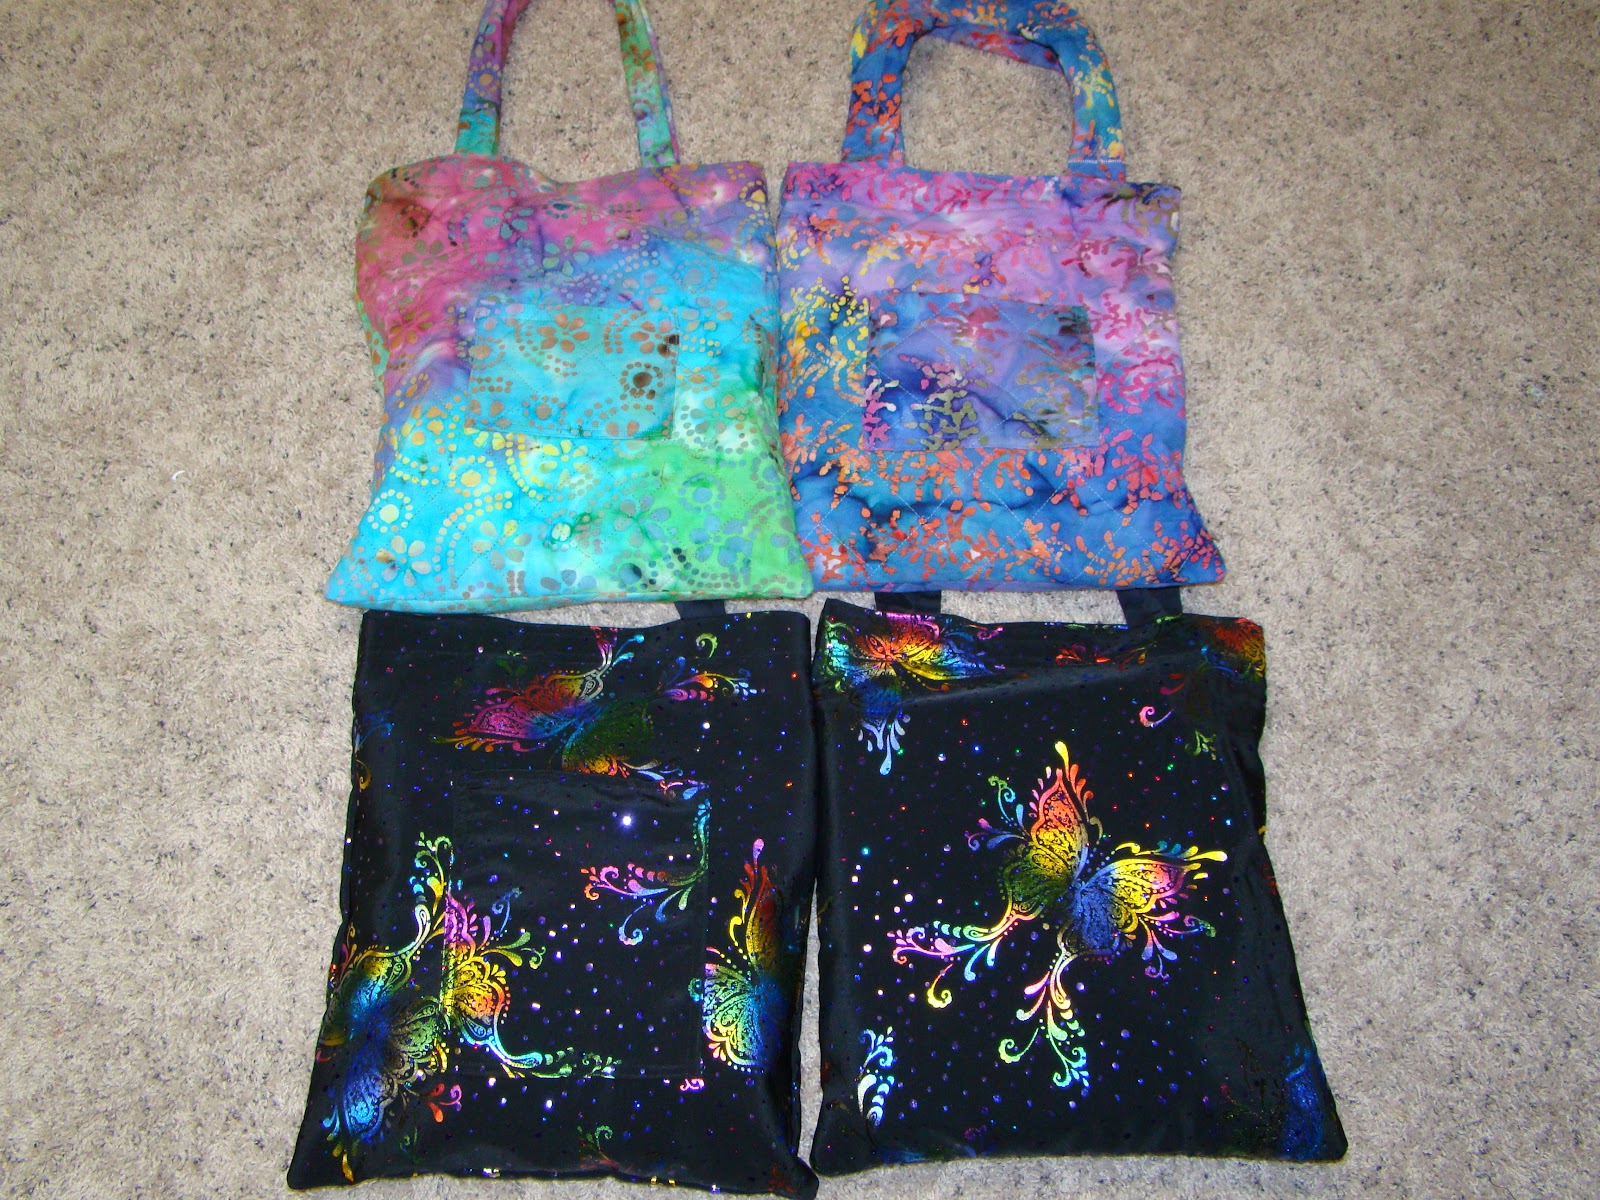
Quilted tie-dye fabric school kits

Metallic Butterfly fabric schoolkits

School kits with supplies


