Thursday, May 29, 2014

The British Invasion End Table Flea Market Makeover is Finished!

I'm almost finished with my Flea Market Makeover end table! It's been sitting in my basement only partially finished for the past year, until this spring I decided to finally finish it! Spring is the best time to varnish in the garage before it's too hot during the summer and the varnish doesn't paint on as well. Winter the varnish just freezes and won't ever dry. Spring is just the right time to finish my British Invasion table.

I painted the entire table colonial blue. Then I painted the flag on top with acrylic craft paint. I masked off the stripes with the green painters masking tape and painted each one. for the side flag I glued a piece of scrapbook paper on with scotch quick dry paper glue, just like a scrapbook project. After that was dry I covered the entire paper with matte decoupage medium. Make sure to paint over the edges to seal in the paper. It's ok if you extend the glue an extra half inch past the paper onto the blue paint as the decoupage medium will dry clear and disappear after it is varnished. I did 2 coats of decoupage medium over the paper waiting for it to dry between coats. I love how scrapbook paper looks on furniture!
For the door inserts I used the same decoupage technique with more scrapbook paper. I like to glue on the paper with the scotch quick dry adhesive rather than decoupage medium as the paper is less likely to bubble or tear. Believe me as I have tried this technique on many projects and have learned from my mistakes. As the glue dries you might notice a few bubbles. If you just leave it alone, the bubbles will smooth out after it's dry. Different papers react differently, but I haven't had any problems since I switched to the scotch quick dry method to glue the paper on, let it dry, then cover the whole paper with decopauge medium.


I love the clock knob I found at hobby lobby! It goes perfectly with the theme. I think the cupboard door looks like a British phone booth.


I even decorated the inside.


I used scrapbook stickers for the "Keep Calm Carry On" shelf and covered and sealed them with decoupage medium. There is a piece of glass that goes on the top right but I haven't put it back on yet.  
Finally after all the decoupage was dry, I varnished the entire project with 2 coats of satin oil based varnish. I sanded it in between coats with very fine sandpaper so it would be smooth, taking care not to sand the decopauged areas. I like the oil based varnish better than water based varnish as it's more durable and just looks better on wood. It's messy on the brushes. Sometimes I put the brush into a plastic bag between coats so I won't have to clean it. Then I either toss the brush, or put it in some brush cleaner to soak and clean later, ha-ha. Sometimes I actually go back and clean the brushes.

I love the little flea market table now and can't wait to find a location for it in my house! Right now it will have to sit in the garage for awhile until the varnish cures and becomes hard instead of sticky.

Before (The price tag says $5.00 LOL)

After!

Wednesday, May 21, 2014

CC3C Challenge 2 - Distress Glittered Butterfly Paper Hot Air Balloon

I'm participating in the Compendium of Curiosities 3 Challenge on the Studio L3 blog by Linda Ledbetter. The Challenge is sponsored by The Funkie Junkie! Challenge 2 is all about the Distress Glitter technique found in the Tim Holtz book Compendium of Curiosities 3.

I wanted to do something vintage with glitter so obviously I decided to create a paper hot air balloon. I created my paper hot air balloon following a pattern and video tutorial by Laura Carson. Here is a link to her blog balloon page. After I made the paper balloon I decorated it with many glittered butterflies using the distress glitter technique in the the Compendium of Curiosities 3 book. The butterflies are cut from grunge paper using the Tim Holtz butterflies movers and shapers die.

For the metal balloon trim and a few butterflies I used the technique I learned following one of Linda Ledbetter's tutorials for "The Spring Zing Wreath" that uses grunge paper, silver foil, embossing folders, and distress paint.

I wanted to be able to hang the hot air balloon, or have it stand up by itself so I strung a string into the top of the balloon secured by a large bead on either side. You have to secure the beads before you glue the final side of the balloon as the balloon opening at the bottom is too small to get your fingers up into once it's finished. (I know this from experience). I used some very soft wire to make the balloon "rope" so it can stand up by itself. You can just use string or chain if you only want it to hang. It took some doing to get the wire right (if you can call that "right") =). I made the flowers using the Tim Holtz mini-floral strip die.


My glittered butterfly balloon is all about beautiful courage. Courage can be a little haphazard and slightly skewampus creation, but when we gather up the courage we can muster, we can rise above the challenges we may face in our own way, finding peace and calm as we float high above where the challenges look small.

I have been in a hot air balloon. As you rise up it feels like the earth is moving away from you, and you are standing still, until the things below are small like ants. Courage is like that. As you find your courage, you can stand firm and the challenges move away from you and become small. You can enjoy your beautiful moment. Sure you have to come back down, but then you'll reach for your courage contraption again.

I have enjoyed making my little balloon contraption.

Thanks for the challenge. It's been a fun one for me as there are no goof ups with glitter and all goof ups can be covered up with even more glitter! Bring on the glitter!!!

Tuesday, May 13, 2014

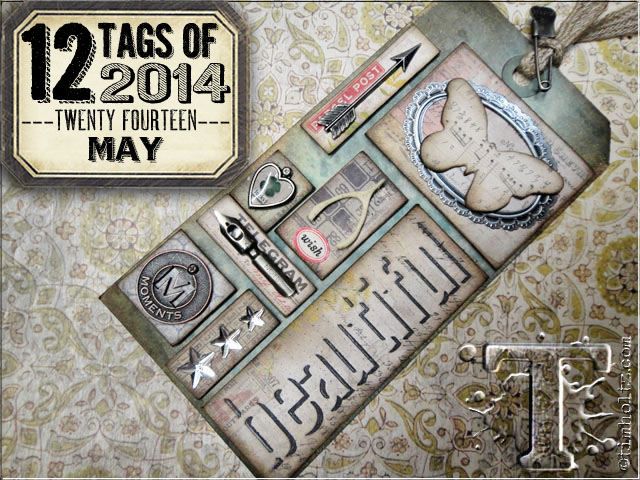
May 2014 Tag - Sailing along with the Tim Holtz tags of 2014

http://timholtz.com/12-tags-of-2014-may/
I had so much fun making this project based on the Tim Holtz tags of 2014 for May. It's always hard to part with those embellishments but I did it!!! I have been feeling a little like sailing away across the ocean blue so I thought I could use some of my sea-faring embellishments and charms that I use to make charm bracelets. I also had a few fish stamps that I never use.

Instead of making a tag, I made a "Huge" tag, more like wall art. It's about 10 inches tall. I just cut out a piece of manilla folder for my enormous tag. I mounted the "huge tag" on some wood after it was finished. On the wood I used the technique where you paint acrylic and heat it up to make "blisters". I saw the technique in the latest "Craft Stamper" magazine. (June 2014 issue). It works. I put a little silver rub-n-buff on my finger to accentuate the "waves".


I worked hard to make "water" swirls using distress ink, but I covered them all up. Darn. Next time I'll take a photo first. I used paper from 7-gypsies called "Mariner". I found the image of the woman sailer on the internet somewhere and added the words with photoshop. It's from a T Earl Christy vintage postcard. I didn't have the shadowpress folders so I faked it in photoshop using a drop-shadow and clipping mask. The rest is just like the tutorial!

It was so much fun to make!


I'm not that great at stamping, but I stamped with ranger embossing ink and embossed the turquoise fish with embossing powder and distress powder. The crown fish is a cool stamp. I stamped with the coffee archival ink, with clear embossing powder. Then I used distress ink over it.

The seahorse is a stamp that I stamped with ranger embossing ink, and black fine embossing powder. Then I cut it out and stuck it on with foam dots. The seahorse folliage is from the Tim Holtz pinecone die, leftovers from the pinecone roses in the April tag tutorial.

The glittered shells are from the little pack of plastic button embellishments at the craft store.

Excellent tutorial and a very fun project. No stress when you get to play with treasure. Smooth Sailing!
Related Posts Plugin for WordPress, Blogger...