Friday, August 29, 2014

CC3C - Challenge 9 - Spooky Configurations with Framelits

Wow! Has it been 9 challenges already?! I am participating in the Compendium of Curiosities III Challenge on the Studio L3 blog by Linda Ledbetter.  For Challenge 9 we are supposed to use Stamps and Framelits found on page 63 of Compendium of Curiosities 3 by Tim Holtz. Challenge 9 is sponsored by Inspiration Emporium, with more prizes courtesy of Mario Rossi and Tim Holtz!

I started off with lots of ideas and great ambitions. I only have 1 framelits set which is the early Halloween set that I ran right out and purchased when it first came out as I love Halloween...along with the mini configurations set. They both sat there forever and I hadn't even created anything using them, although I had used the stamps from the framelits set.

So I was excited to begin work on my neglected configurations boxes!!!


Here is the configurations box all ready to go with the lantern light and everything. I was having fun following the excellent project tutorial by Richele Christensen. Then I had some work deadlines and had to work late a lot, and there were some family birthday celebrations, mass confusion, etc. until I ran out of time.

I did complete 4 of the configurations boxes using stamps and framelits so we'll call those my project.


The witch head is a stamp from the framelit set that I stamped onto shrink plastic. The boxes are so small I decided the framelits would fit better if I shrunk them. I watercolored the witch head after shrinking.  The hanging skeletons are also framelits stamped on shrink plastic and cut out with the framelit die. The trim above the skeletons is part of the Tim Holtz iron gate stip die that I snipped out. It makes great spooky trim. Also I used part of the cobweb strip die. The "bone dust" jar is from the Richele Christensen tutorial. Cute!

So I'm happy to have completed these 4 configurations boxes and look forward to making the rest. I've never made a configurations box before and I've been admiring all of your creations! I will post the entire project when it is complete. I've made some cool clay goodies to go in some of the other boxes! I also hope to create some mini-gargoyles for the top. We'll see how it goes.

I also plan to use the black cat, bat, and owl from the rest of the framelits set!

Thanks for checking out my spooky project so far! Thanks also to all those who have posted excellent tutorials on how they did their configurations!!!

Sunday, August 10, 2014

My August Tag - Tim Holtz 12 Tags of 2014

http://timholtz.com/12-tags-of-2014-august/
I've been playing along with the Tim Holtz 12 tags of 2014! Here is my August Tag.
This month the objective was to "follow your muse", to get lost in the process.


This is what happened. I had been working on a Frankenstein monster project for Compendium of Curiosities III Challenge and so I was still thinking "Frankenstein". I did use several of the techniques that Tim used on his August tag. I used some tissue tape for a stamp. I used texture paste through a crackle stencil that kind of looks like lightening. I used distress paint through a stencil, distress ink through a stencil, it's hard to see all of it now. I used distress embossing powder to create some "rust".

I ended up cutting the tag up and then stapling it back together with the tiny attatcher, and then I also sewed some of it back together until I had "created a monster tag!" I rusted the staples, and my electrical wire.

The tag is actually a large manila folder tag I cut out and mounted to a Masonite plaque shape that I painted green. It's larger than a tag.

So I just kind of let the tag happen.

"Life is happening" right now not exactly "according to plan", (Loud Scream here!!!)


So I thought the sentiment was fitting. I love the expression on the "Bride of Frankenstein's" face. I can identify. I also have a similar hairstyle at the moment, not on purpose.

Just recovering from a 3-day bout with a viscous stomach flu. (Bubbling Cauldron here!!!)


So I lost 3 days, was a little delirious...not sure what happened...BUT I lost a few pounds, so hey, it wasn't all bad. And today I finally could eat real food, so I immediately ate chips and fresh salsa from my garden! Felt a little queasy afterwards but I'm on the mend!!!

And I did finish two monster projects...and got to follow my muse...which was monster films...to go along with my Frankenstein flu virus and hairstyle this weekend!!

Saturday, August 9, 2014

CC3C - Challenge 8 - Faded Layers Monster Panel

Compendium of Curiosities III Challenge

I am participating in the Compendium of Curiosities III Challenge on the Studio L3 blog by Linda Ledbetter.  The Challenge 8 technique features the faded layers technique found on page 58 of Compendium of Curiosities 3 by Tim Holtz. Challenge 8 is sponsored by The Funkie Junkie Boutique, and also by Mario Rossi and Tim Holtz!

I tried out the faded layers technique before when I took the Tim Holtz Creative Chemistry 102 course! I was surprised at how easy the technique was this time when I followed the instructions in the book.

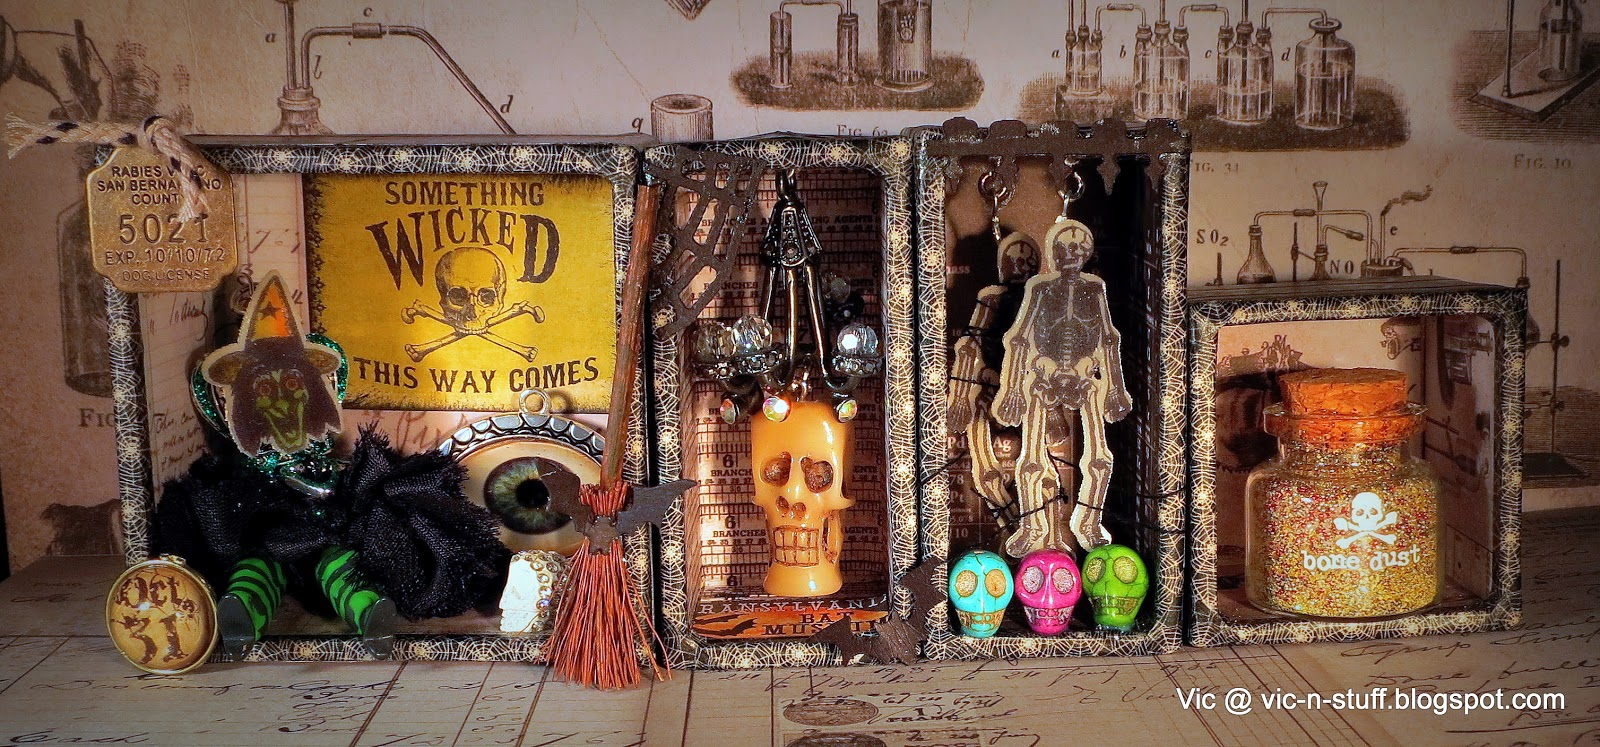
For this project I decided to decorate my other Tim Holtz Burlap panel that was left-over from challenge 6. Even though it's only August I've been seeing some Halloween crafting starting to show up on lots of blogs right now which made me excited as I love Halloween crafts! Halloween and Christmas are my favorite crafting inspirations.

Since I'm scared of alcohol ink, I thought I should do something scary, so I created a monster!!! (lightening bolts, and thunder here)

I Created a Monster


Decoupaged and Transferred Frankenstein Movie Graphics

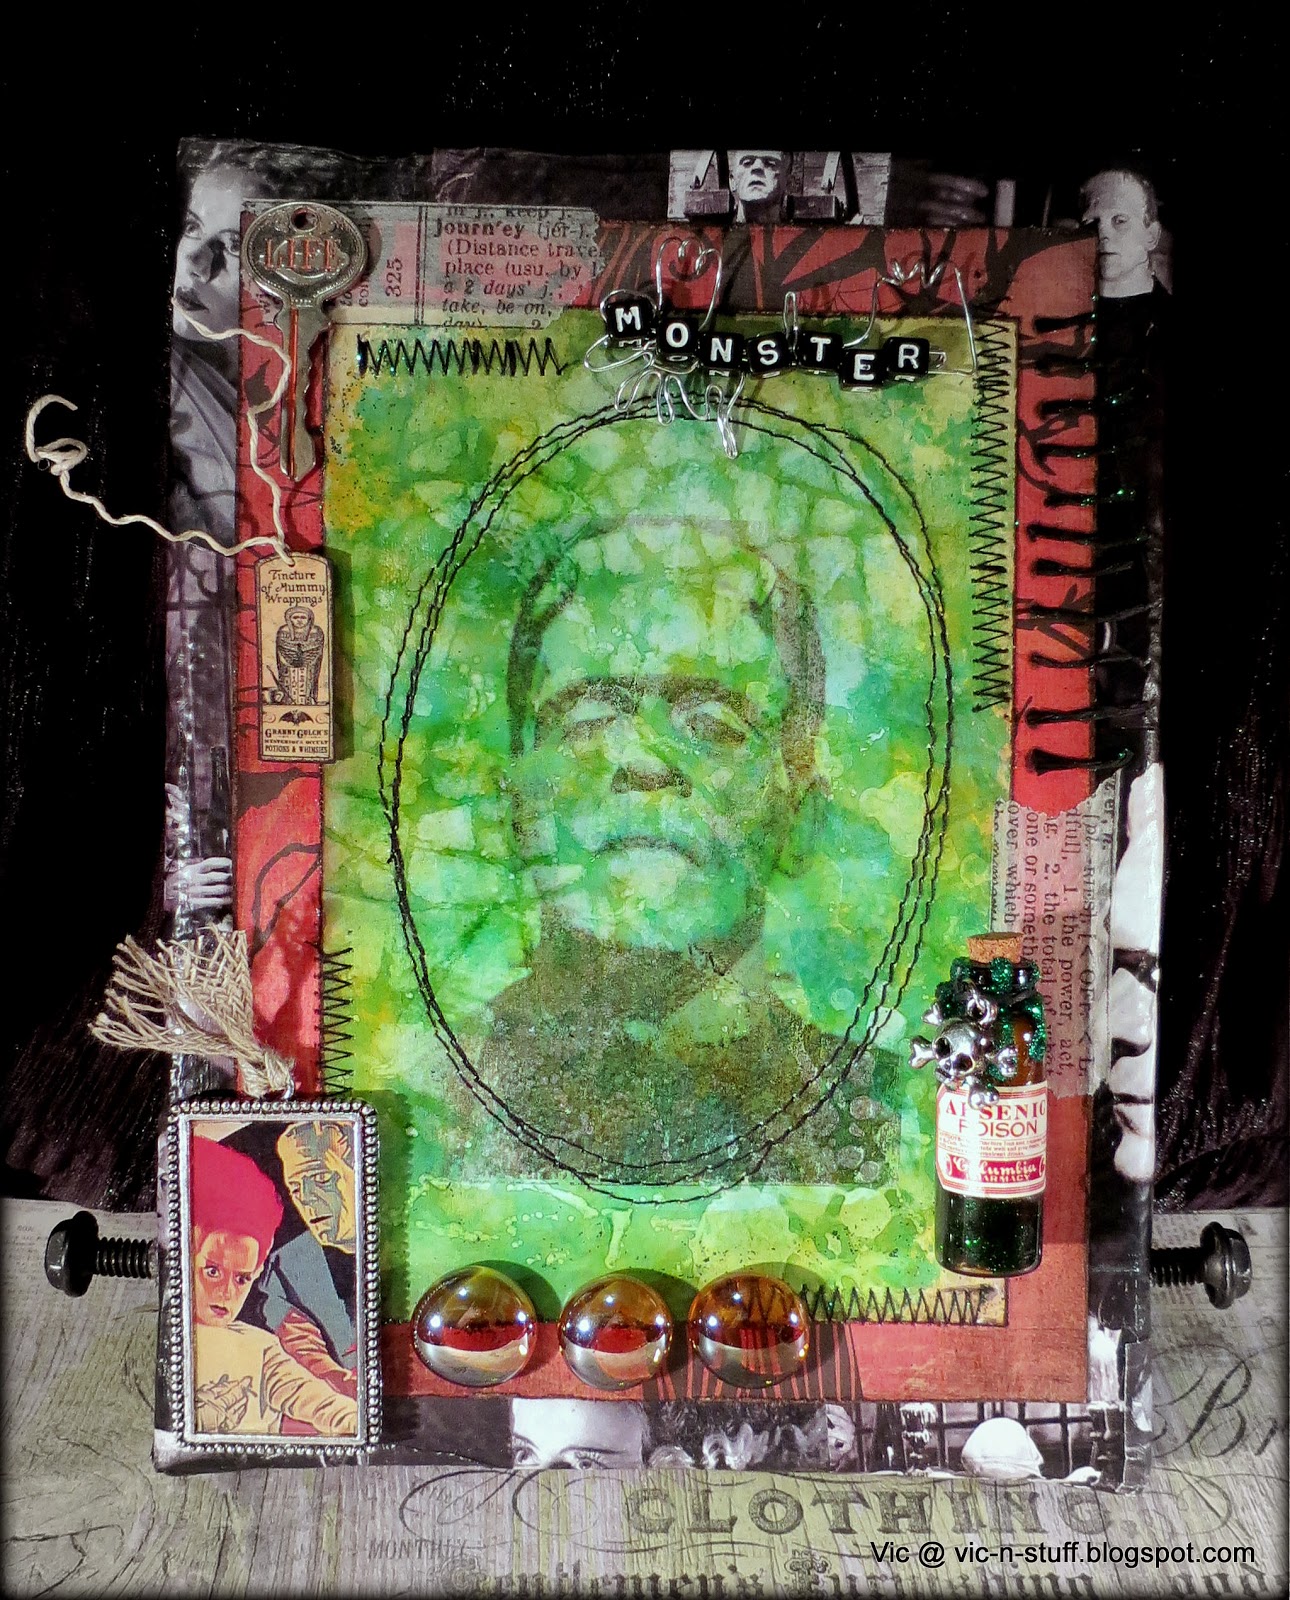
I found a bunch of Frankenstein movie graphics from the old original films that I printed after work on the laser printer. I decoupaged lots of black and white images onto the canvas, then I let it dry. Then I did the faded layers technique for the background. Then I sealed the background with decoupage medium and let it dry. I only needed to seal it so I could transfer Frankenstein onto the faded layers without ruining it. If I didn't seal it first, my Frankenstein transfer process would ruin the pretty background.

To transfer Frankenstein, I put the photocopy (laser print) of Frankenstein face down on the background, then I used a chart-pak blending pen on the back of the photocopy and kept inking it with the chart-pak blending pen until the back of the photo copy was saturated. I let it sit for a minute or so, then I peeled off the photocopy and Frankenstein was transferred. I practiced this a few times on a blank piece of paper until I'd figured out how to make the transfer process work so I wouldn't ruin my background. It takes some practice and sometimes it doesn't work very well. You just have to experiment.

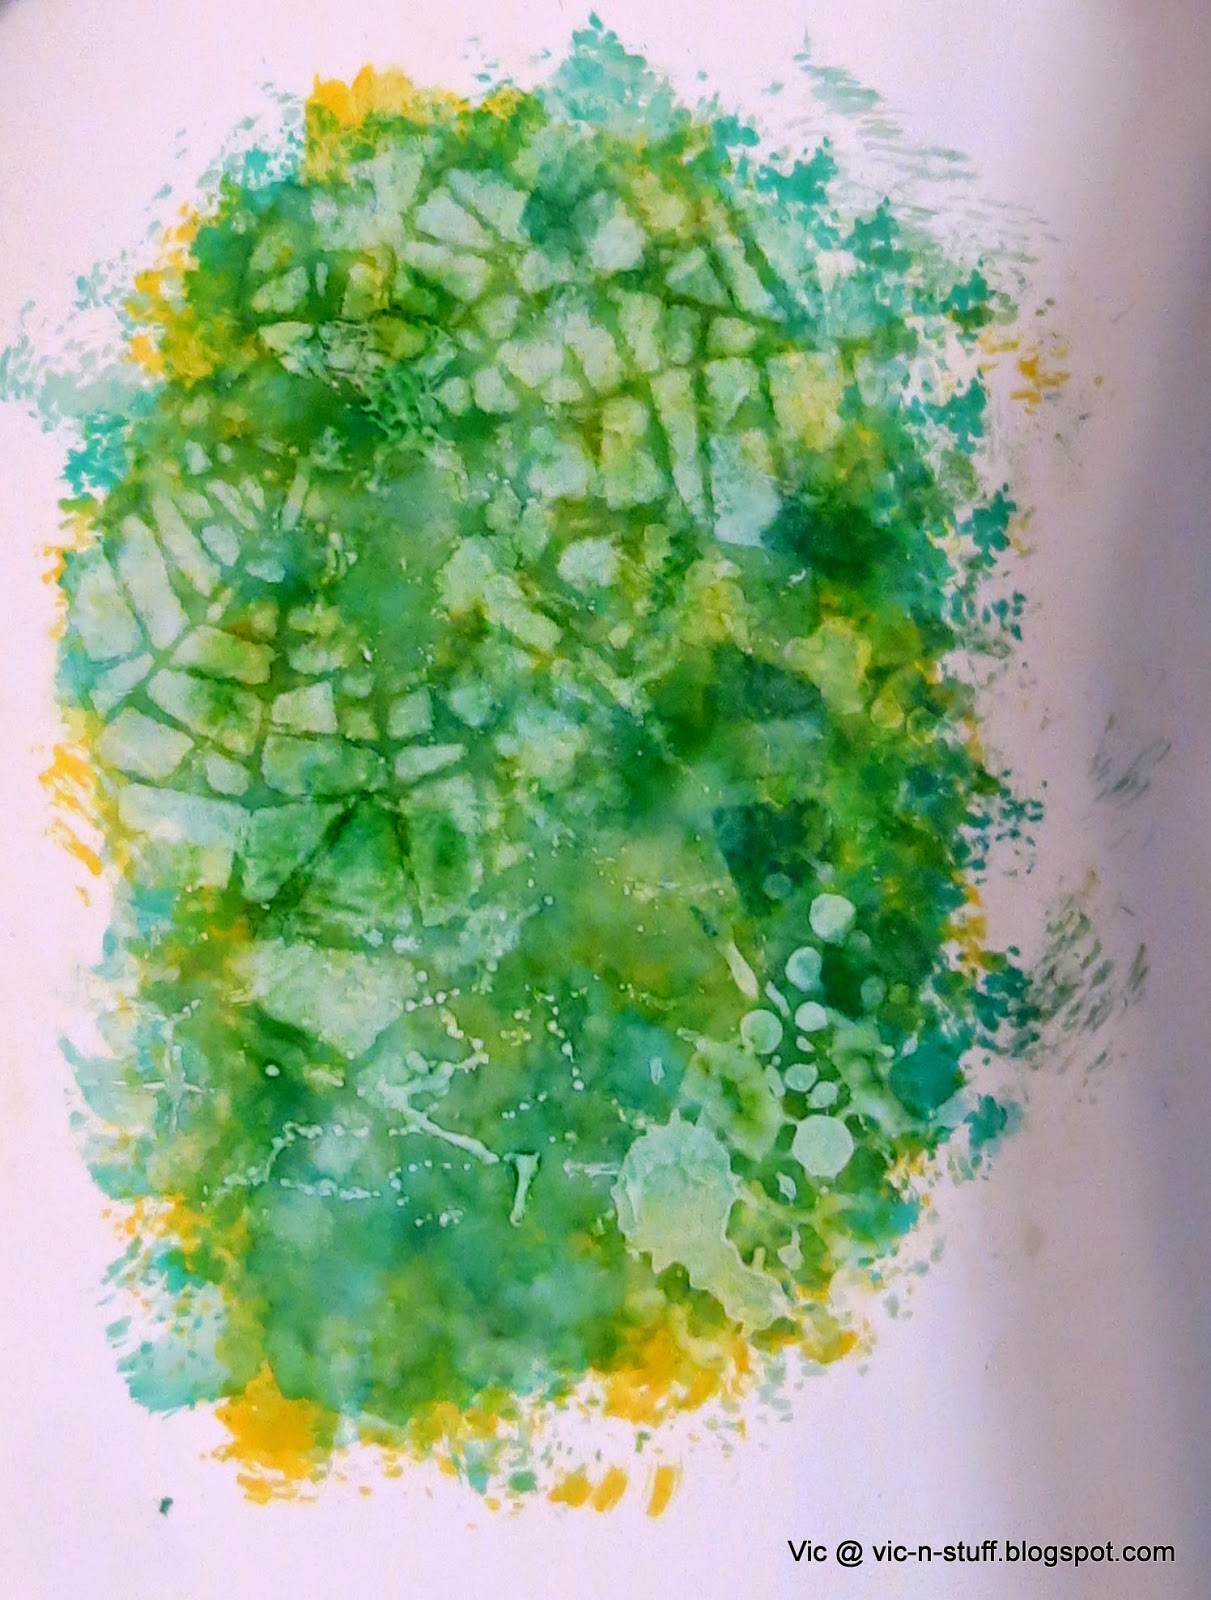
Here's the background before I transferred Frankenstein onto it.

Monster Embellishments

After I transferred the Frankenstein image I had fun sewing on my creation, and creating embellishments for the panel until it came "Alive!"

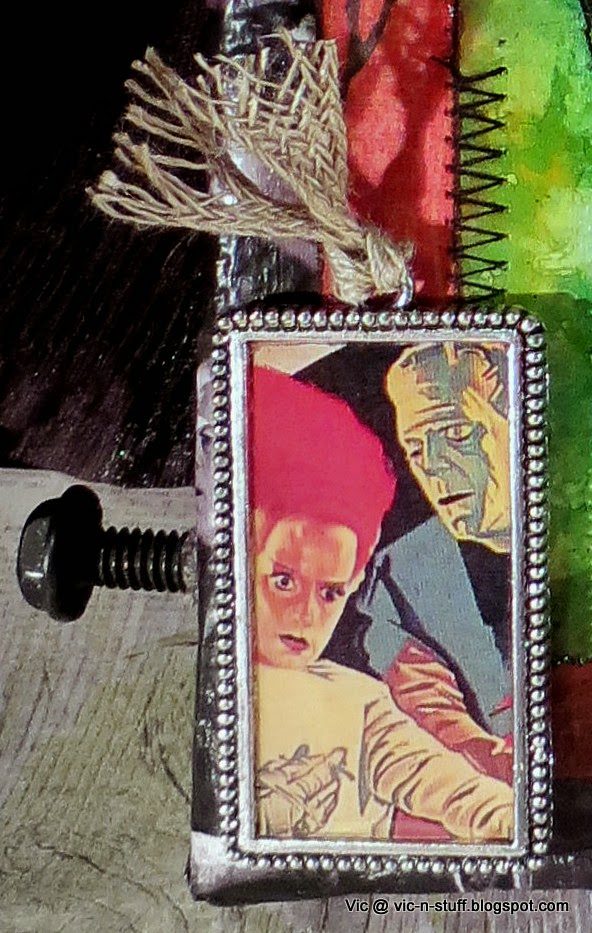
I made this embellishment by printing an image with a laser printer. Then I cut it to fit my frame, then I decoupaged it to the frame putting the decoupage medium on the top and bottom of the image. After it was dry I put another coat of decoupage medium on the top making sure the edges of the image were all sealed. Then I let that dry. Then I used some uv-curing resin Lisa Pavelka - Magic-Gloss and the Lisa Pavelka UV Curing Light. You could also use glossy accents or dimensional magic.

I drilled holes in the sides of the canvas for the Frankenstein Bolts, my favorite part of the project!

I made the "Monster" title using some wire and alphabet beads.

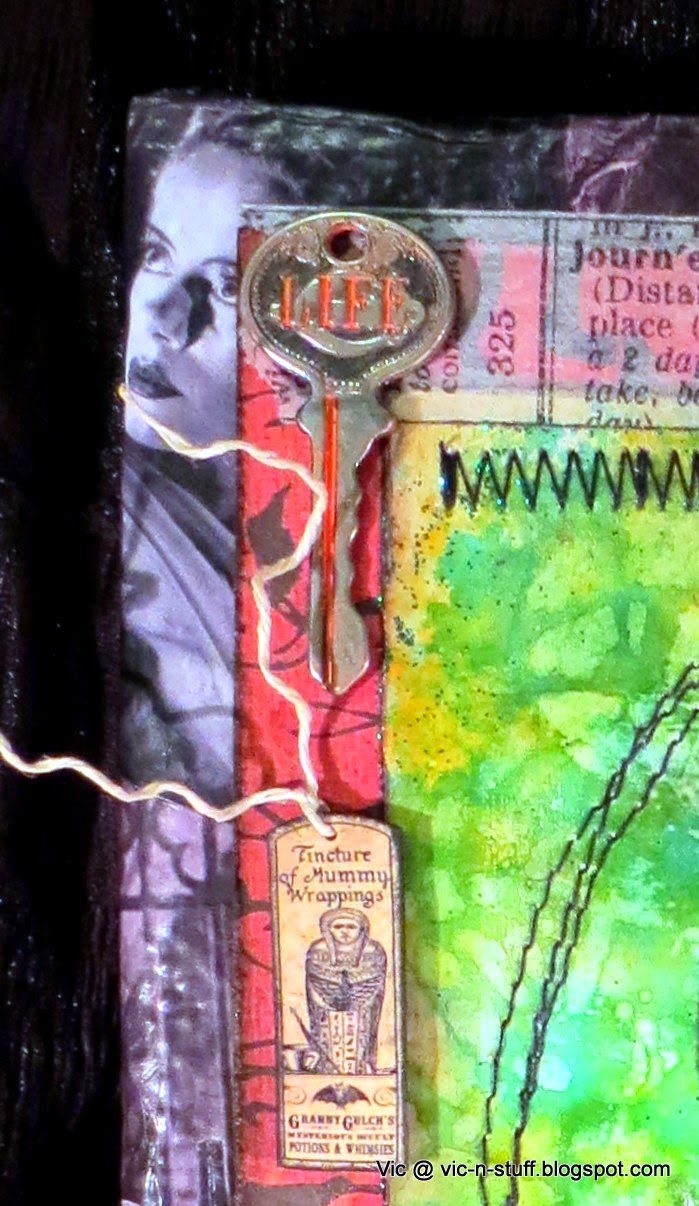
I made the poison bottle using a small brown tinted bottle, a label, a Tim Holtz skeleton embellishment, and some green stickles. I squirted green stickles inside the bottle and also made a mess with it so it could ooze out the top.


I used a Tim Holtz key embellishment that says "Life", as the monster needs the key to life to become ALIVE! I also used a small shrink plastic mummy charm I made. Wasn't there an old Frankenstein movie with a mummy? Anyways the charm was a left-over from some charm bracelets that I was making last year that I haven't finished yet. (One of the millions of projects that are ... almost done...)

More Scary Projects!

So here it is all back together again. I had fun creating a monster with the faded layers technique which turned out to be a perfect technique for Frankenstein!!! I'm looking forward to many more scary projects this year!

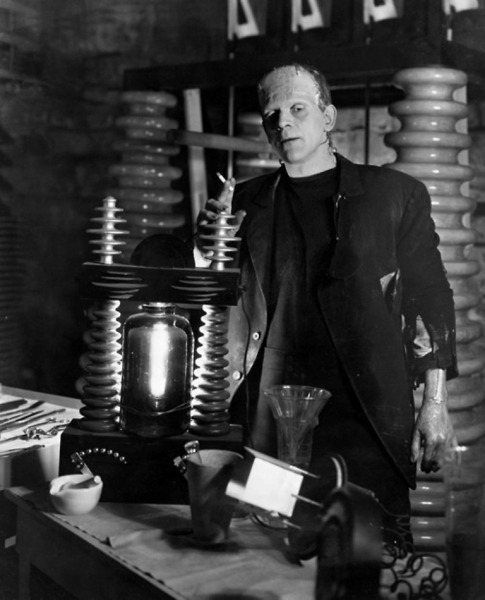
A Debonair Mr. Frankenstein

Here is my favorite photo of Frankenstein I used in my project but it got covered up so I will display it here. Here's Frankenstein taking a little break, looking all smooth and suave, kinda like a jazz musician or a nightclub singer. It's Boris Karloff in the 1935 "Bride of Frankenstein"!


Sunday, August 3, 2014

Queen Elizabunny - The paperclay folk-art doll!

I took a Folk-Art Doll Class

This month I've been taking an online course offered by The Artful Gathering. The course I'm taking is called Rosaleen Rabbit by Colleen Moody. Registration is closed for the session, but sometime in November the dvd from the online course will be available to purchase from their website if you want to make your own!


Rabbits are Trendy

I've been noticing woodland animal designs everywhere lately! In clothing designs, home decorating, product packaging, etc. I purchased several baby and childrens clothing items with funky woodland animal designs for my grandbabies!

Learned to sculpt with Paperclay

In the course we learn to mold the adorable rabbit dolls using paperclay. The course uses lots of different mediums, the body is sewn so you work with fabric. The head, shoulders, arms and legs are sculpted using clay. We paint and antique the dolls, then we sew costumes for the dolls. You can even make some jewelry for your doll!

She's Finished

Here is my rabbit doll all finished! She is about 16" tall. She turned out quite regal so I named her "Queen Elizabunny"! She is very elegant and dignified, but she is also kind with a sense of duty. It's just how she turned out.

"Queen Elizabunny"!


An Important Portrait


 Here she ponders her many responsibilities...and carrots.

"Queen Elizabunny" sitting on her throne.


Take a break here for tea and carrots

It has been a very rewarding course and I have learned a lot. I struggled with the clay at first, especially the ears but I figured it out! I have made lots of dolls over the years, but have never made a doll with a clay head starting from scratch. The clay head technique is new to me. I love her. I have one more smaller rabbit doll to finish. I have to go create her a suitable outfit that matches her personality.

Link to Colleen Moody dolls on pintrest: Colleen Moody dolls on pintrest.
Link to a blog about her live doll course: Blog review of Colleen Moody doll class.
Link to Collen Moody's blog: Colleen Moody blog.
Related Posts Plugin for WordPress, Blogger...